
Hello, Crafty friends!
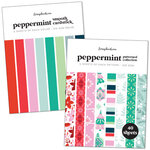
I am late with this post. I am beginning to feel as if I am late for most things. How is it that summertime is just as busy as any other season in our lives? You know we crafters need a quiet moment to create and refresh ourselves. However, life throws a curve ball here and there and we create when we can. Today, I am sharing a card featuring Scrapbook.com's new pattern paper pack, Peppermint. The new paper pad is a fresh, modern color palette filled with Christmas pattern paper. And since it is Christmas in July, what a perfect time to design a card with this paper pack.

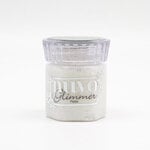
I know you are thinking, "didn't she write that this is Christmas pattern paper?" Why, yes I did. But you know what is great about being a designer, thinking outside the box and finding new ways to stretch my supplies. With July 4th upon me and a dear friend born on that day, I decided to design a birthday card. I chose a few pattern papers and then used the coordinating smooth cardstock to make my own double-sided paper. Yes!! And the pinwheel design just adds to the festive nature of the card. The background was created using the Fireworks stencil and Nuvo's Moonstone glitter paste. A Happy Birthday sentiment from the new Happy Birthday stamp set and a cute bow completes this card.
.JPG)
I hope this card has inspired you to think of new ways to use your pattern paper pads. Until we meet again...Happy Crafting!
Create Beauty Every Day!
Keia
Card Supplies:
Scrapbook.com




Happy Father's Day, crafty friends!!
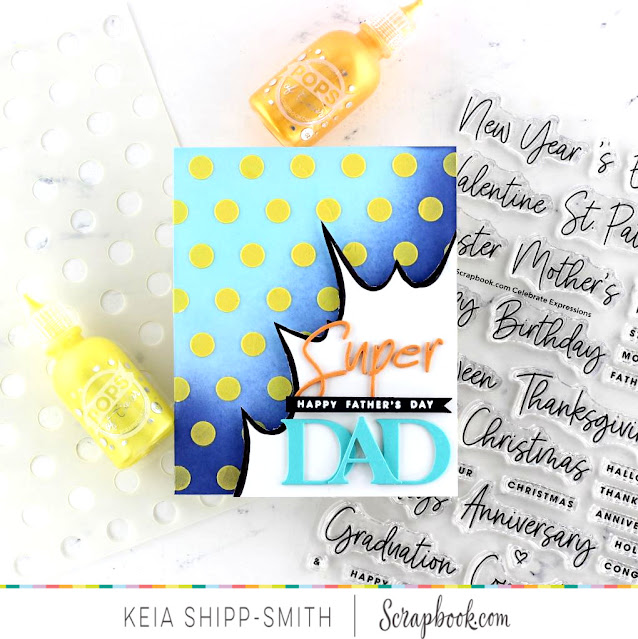
I hope your day is off to an amazing start! I love making cards, but find masculine cards to be my creative nemesis. Seriously, there are only so many motorcycle and tool-inspired cards I can design for my hubby before we both have had enough. When I am feeling stuck, I often take a look at cards online for inspiration. Did a certain color palette catch my eye? What about the graphics? Or the concept? Something is bound to spark a bit of creativity and get my creative juices following. This year, I created an "I am a Super Dad" graphic card for Father's day and I am happy with the way it turned out, even the hand-drawn bit.

_Box%2015.jpg)



Scrapbook.com



Happy Saturday, Crafty Friends!
Today is the release of Spellbinders Stitched Alphabet dies and Stitched Alphabet Descriptors Sentiment stamp. If you are new to stitching on paper, like me, this video is excellent (HERE). I created a bold sentiment with the new dies and then used the Stitched Alphabet Descriptors to tie it together.

To create my card, I first cut a piece of white cardstock down to a mini slimline 3x6 inch panel. I then inked the panel using a mix of rainbow ink colors that coordinated with my color palette. I was a little nervous stitching on paper; however, it was easy to do and wonderfully relaxing after watching the Spellbinder's tutorial. To make sure that the stitching would not rip the paper, I die-cut each letter twice and glued the diecut pieces together. This provided extra support, especially when working the letter "m" where the diecut was susceptible to creasing along the connector points. After stitching on the cardstock, I arranged the letters to spell out the word Smile and added the heat embossed sentiment "You have that x-factor" onto black cardstock for a finishing touch.

Thank you for stopping by and spending a bit of time with me. I hope you have a chance to visit the new May Release from Spellbinders (HERE) and create a little paper magic of your own!
Create Beauty Every Day!
Keia


Hello, Crafty Friends!
This week we are celebrating National Scrapbook Week at Scrapbook.com. I hope you have a chance to join us for some wonderful FREEBIES, inspiration, and a chance to win a $200 gift card to Scrapbook.com (HERE)! So join us all this week as we stamp, diecut and tape together the memories we want to hold onto forever.

National%20Scrapbook%20Day%20Week!%20-%20Square%20Affiliate%20NSD.jpeg)
I am hoping to get in a little scrapbooking this week, too! I have printed my pictures and pulled a few embellishments I am planning on using. I believe the Brooklyn Upper and Lower Case Alphabet stamp set should work out nicely.
Looking forward to seeing what you create this week!
Happy National Scrapbook Week!
Supplies:


Hello, crafty friends!
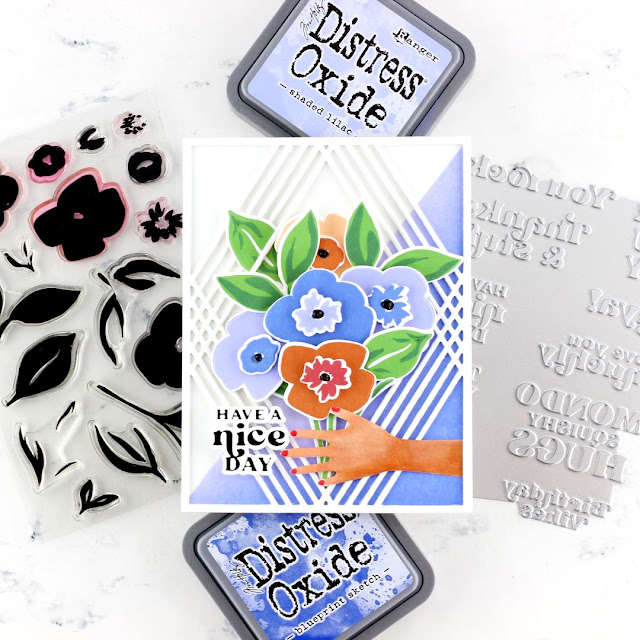
I am excited to join you on the Ellen Hutson Blog (HERE) as the featured guest. Today, I am sharing a card featuring the Panton 2022 Color Very Peri with Ellen Hutson's Painted Floral.


Very Peri is a color that blends the boldness of the blue family with the subdued saturation of the purples to create a fresh perspective on a beloved color family. When I looked at my collection of inks from Pinkfresh Studio to Concord and 9th, and everything in between, I wasn't quite sure how to achieve the depth of color in Very Peri. The color leans toward a saturated expression of periwinkle...a color not in my ink stash. However, with a little experimentation, I was able to combine Tim Holtz's Distress Oxides Shaded Lilac and Blueprint Sketch to achieve a close match to Very Peri.
Very Peri pairs nicely with colors in the orange range for a bit of pop. I stamped the Painted Florals set using Shaded Lilac, Blueprint Sketch, and Catherine Pooler's Ginger, Apricot, and Terracotta. The leaves were stamped using Concord and 9th's Parsely and Pinkfresh Studio's Evergreen.
.JPG)
Once I had my color palette chosen and the florals stamped, it was time to create my greeting with the Casual Greetings Hot Foil Stamp. I am not a foiling pro, but I have learned a few things to make foiling a bit easier. For me, hot foil stamping improved when I used the right tools for the job. The Spellbinders Quick Trimmer Tool is perfect for cutting foil to the correct size without leaving marks on the delicate material. Also, I use masking tape for Post It tape to adhere my foil to the bed of my foiling machine to keep my foil in place.
%20(2).JPG)
With the floral bouquet and sentiment prepared, it was time to add the last few finishing touches to the card. To add visual interest to the background, I die cut Altenew's Diamond Frame Cover three times and adhered the diecut pieces together using liquid adhesive. The Hands die, from Ellen Hutson, is perfect for holding my bouquet. I die cut the hand onto Copic-friendly cardstock and colored it using E11, E13 and R27. I didn't want the hand to appear as if it was floating, so I die cut the hand in the center of my cardstock and used scissors to cut the image to the desired length. Using masking tape and a mix of Shaded Lilac and Blueprint Sketch Distress Oxides, I created a Very Peri inked background on an A2 card panel. Just a bit of color added another layer of visual interest to an otherwise white background. A few dabs of the Nuvo Black Ebony Crystal Drops for the flower centers completes this card.
.JPG)
Thank you for spending time with me. I hope this card inspires you to use the new Pantone 2022 Color Very Peri in your papercraft designs.
.JPG)
The following products for this card can be found in the Ellen Hutson shop (HERE).
Create beauty every day...
Keia
Card Supplies


Social Icons