
Hello Fellow Crafters,
I am still in the "use my scraps" mode. I fell in love with this yellow and teal paper from MME and could not bear to part with even the tiniest scrap. I have finally laid the paper to rest; however, here is another scrap challenge card.
Enjoy,
K
Project Size: A2 Portrait
Paper: Stampin' Up, MME, K&Company, Bazzill
Cartridge: Artiste (doily 3 3/4); Sentimentals (bee 1 3/4, phrase 1 1/4)
Tim Holtz: Stickles
Cuttlebug Folder: Swiss Dots
Ribbon: Ribbon and Bows Oh My!
Twine: The Twinery

I am still in the "use my scraps" mode. I fell in love with this yellow and teal paper from MME and could not bear to part with even the tiniest scrap. I have finally laid the paper to rest; however, here is another scrap challenge card.
Enjoy,
K
Project Size: A2 Portrait
Paper: Stampin' Up, MME, K&Company, Bazzill
Cartridge: Artiste (doily 3 3/4); Sentimentals (bee 1 3/4, phrase 1 1/4)
Tim Holtz: Stickles
Cuttlebug Folder: Swiss Dots
Ribbon: Ribbon and Bows Oh My!
Twine: The Twinery


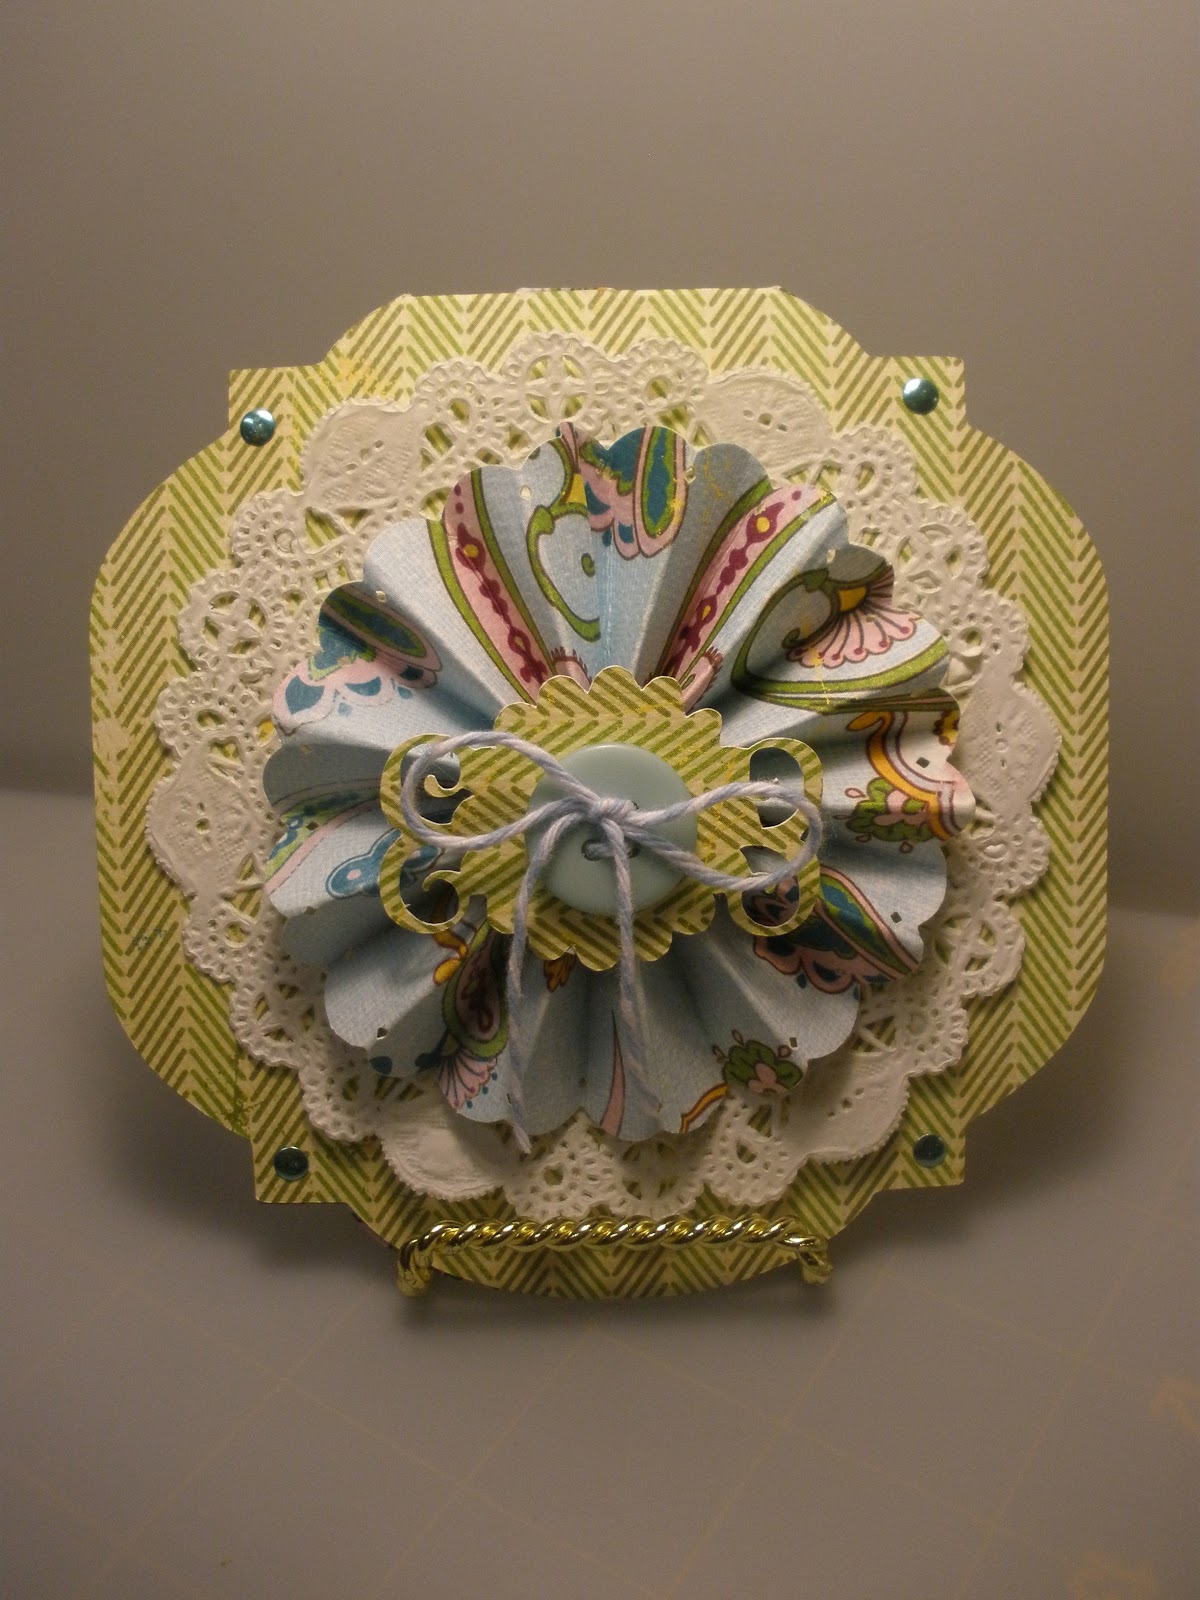
Oaky, you are probably thinking, "Is this a repeat?" Well the answer is no. I cannot believe it, but I was actually able to make more than one "scrap" card as a challenge to myself...wahoo! It feels awesome to use my scraps. I mean really, how can you part with even the tiniest piece of paper with those fabulous patterns and textures? Without further ado here are my other two scrappy cards.
Thanks for stopping by!
K
4 1/2 x 4 1/2
Paper: Authentique, dollie (Wilton)
Cartridge: Sentimentals (4 1/2 card base); Storybook (circle flourish, 1 1/2)
Twine: The Twinery
Button: Basic Grey
Bling: Imaginisce
Rosette shape (1 1/2 punched with EK Success punch)
Thank You Card
4 1/2 x 4 1/2
Paper: DCWV, dollie (Wilton)
Cartridge: Sentimentals (card base 4 1/2); Storybook (circle flourish 1 1/4)
Rosette (1 1/2 and punched with EK Success punch)
Butterfly from stash

Thanks for stopping by!
K
4 1/2 x 4 1/2
Paper: Authentique, dollie (Wilton)
Cartridge: Sentimentals (4 1/2 card base); Storybook (circle flourish, 1 1/2)
Twine: The Twinery
Button: Basic Grey
Bling: Imaginisce
Rosette shape (1 1/2 punched with EK Success punch)
Thank You Card
4 1/2 x 4 1/2
Paper: DCWV, dollie (Wilton)
Cartridge: Sentimentals (card base 4 1/2); Storybook (circle flourish 1 1/4)
Rosette (1 1/2 and punched with EK Success punch)
Butterfly from stash


Good morning fellow crafters,
This week at Just A Scrappin' we are saying good-bye to summer vacation and hello school. The challenge is to make a project, card or layout for "back to school" including ribbon and bling.
Once again, I decided to try my hand at a project. This idea came from a fellow crafter on Pinterest who altered a Pringles can into a giant pencil (you can visit her blog at www.gluesticksandtape.com for a great step-by-step instructional). What a perfect idea for back to school and on top of that I could use it as a gift for my son's preschool teacher.
In the post, the blogger uses a cutterbee cutting system to make circular cuts. If you do not have a cutterbee system, you can use your Cricut machine. You can make the cuts by using the center point function on your machine. Start by making the first circle cut, in this case the 3 1/4 " cut out of tan paper, and then make the 5 1/2" circle cut on the same paper. It was awesome making this project because I learned something new about my Cricut Expression that I have had for two years now!
Completed Project:13"
Paper: Recollections, DCWV
Cartridges: Storybook (real dial; circle 2 3/4" cut for top of the eraser (pink), 3 " cut for inside the top (tan)); Lyrical Letters (welded; 1 1/4"); Nates ABCs (letters cut at 1" and 1/2")
Imaginisce: Bling
Pringle's can measurements: Yellow paper (10 3/16" L x 11" W)
Pink eraser (10 3/16" L x 1 3/4" W)
Metal band (11" L x 1" W) then crimp or fan paper
Pencil/lead cuts: tan paper ( 5 1/2" paper with a 3 1/4" circle cut from the center); black paper (4 1/2 circle). Glue the black circle on the the tan paper with the 3 1/4" circle cut out).
Pencil border: Gypsy weld (Elegant edges border (bird) cut to 11.10"; ink with tea dye ink (Tim Holtz); and cut some of the tips to give the worn look of the pencil being sharpened.
I used tacky tape, but you can use mod podge or a similar sticky adhesive.
Throughout this project I used the REAL SIZE DIAL for cuts.

Please stop by the Just A Scrappin' website to view projects from our talented design team.
Thank you for stopping by!
K
This week at Just A Scrappin' we are saying good-bye to summer vacation and hello school. The challenge is to make a project, card or layout for "back to school" including ribbon and bling.
Once again, I decided to try my hand at a project. This idea came from a fellow crafter on Pinterest who altered a Pringles can into a giant pencil (you can visit her blog at www.gluesticksandtape.com for a great step-by-step instructional). What a perfect idea for back to school and on top of that I could use it as a gift for my son's preschool teacher.
In the post, the blogger uses a cutterbee cutting system to make circular cuts. If you do not have a cutterbee system, you can use your Cricut machine. You can make the cuts by using the center point function on your machine. Start by making the first circle cut, in this case the 3 1/4 " cut out of tan paper, and then make the 5 1/2" circle cut on the same paper. It was awesome making this project because I learned something new about my Cricut Expression that I have had for two years now!
Completed Project:13"
Paper: Recollections, DCWV
Cartridges: Storybook (real dial; circle 2 3/4" cut for top of the eraser (pink), 3 " cut for inside the top (tan)); Lyrical Letters (welded; 1 1/4"); Nates ABCs (letters cut at 1" and 1/2")
Imaginisce: Bling
Pringle's can measurements: Yellow paper (10 3/16" L x 11" W)
Pink eraser (10 3/16" L x 1 3/4" W)
Metal band (11" L x 1" W) then crimp or fan paper
Pencil/lead cuts: tan paper ( 5 1/2" paper with a 3 1/4" circle cut from the center); black paper (4 1/2 circle). Glue the black circle on the the tan paper with the 3 1/4" circle cut out).
Pencil border: Gypsy weld (Elegant edges border (bird) cut to 11.10"; ink with tea dye ink (Tim Holtz); and cut some of the tips to give the worn look of the pencil being sharpened.
I used tacky tape, but you can use mod podge or a similar sticky adhesive.
Throughout this project I used the REAL SIZE DIAL for cuts.


Please stop by the Just A Scrappin' website to view projects from our talented design team.
Thank you for stopping by!
K

Good afternoon fellow crafters,
I love this scrap challenge I am doing for myself. My monthly "Scraps Challenge" has really forced me to utilize what I have and to think outside of my creative, comfort zone. By only using what is in my scrapping stash I have learned to look at color, texture and patterns in new ways. Prior to this challenge, I would have shied away from mixing too many colors and patterns. However, now I see how these elements can come together seamlessly to create a rich and vibrant new creation.
Thank you for joining me on this journey.
K
Thinking of You...
A2
Paper: DCWV (Green Stack), MME (Stomp)
Cartridge: Artiste (cut 3")
Sewing Machine: Baby Lock
Bling: Imaginisce
Tim Holtz: Distress Edger
Sentiment: Stampin' Up

You Make the World...
A2
Paper: MME, DCWV, Graphic 45
Cartridge: Storybook (3 1/4" and fancy corner (3 1/2")
Sewing Machine: Baby Lock
Ribbon: Ribbon and Bows Oh My
Pearls: Recollection


I love this scrap challenge I am doing for myself. My monthly "Scraps Challenge" has really forced me to utilize what I have and to think outside of my creative, comfort zone. By only using what is in my scrapping stash I have learned to look at color, texture and patterns in new ways. Prior to this challenge, I would have shied away from mixing too many colors and patterns. However, now I see how these elements can come together seamlessly to create a rich and vibrant new creation.
Thank you for joining me on this journey.
K
Thinking of You...
A2
Paper: DCWV (Green Stack), MME (Stomp)
Cartridge: Artiste (cut 3")
Sewing Machine: Baby Lock
Bling: Imaginisce
Tim Holtz: Distress Edger
Sentiment: Stampin' Up


You Make the World...
A2
Paper: MME, DCWV, Graphic 45
Cartridge: Storybook (3 1/4" and fancy corner (3 1/2")
Sewing Machine: Baby Lock
Ribbon: Ribbon and Bows Oh My
Pearls: Recollection


Happy Anniversary, Love!
Thank you for 11 wonderful years together. I am looking forward to the rest of life with you.
*************************************************************************
I made this card for my wonderful husband who has loving supported my crafting hobby for the last 10 years. My special guy listens to me as a describe the latest and greatest crafting gadget that I must have with an attentive expression on his face. My hubby even has a craft table next to me so that we can craft together in the evenings. I could not ask for a better partner.
Recipe: A2
Paper: Echo Park (This and That), DCWV, Bo Bunny
Scrabble Tiles: Stash
Black twine: Hobby Lobby
Wooden Figures: Studio Calico
File Tag: Stash

Thank you for 11 wonderful years together. I am looking forward to the rest of life with you.
*************************************************************************
I made this card for my wonderful husband who has loving supported my crafting hobby for the last 10 years. My special guy listens to me as a describe the latest and greatest crafting gadget that I must have with an attentive expression on his face. My hubby even has a craft table next to me so that we can craft together in the evenings. I could not ask for a better partner.
Recipe: A2
Paper: Echo Park (This and That), DCWV, Bo Bunny
Scrabble Tiles: Stash
Black twine: Hobby Lobby
Wooden Figures: Studio Calico
File Tag: Stash


Happy Thursday fellow crafters!
At Just A Scrappin' we have a fabulous challenge this week: critters, buttons and embossing! Use all three of these elements to create a card, layout or project (color choice is up to you). Add a little creativity and you are off to a great start.
I thought about the critter element and thought, "Finally, a chance to use my Cindy Loo cartridge!" Sad detail is I had purchased that particular cartridge one year ago and never made a single cut! Sad, but true. I enjoyed this challenge, as with the others, and had a chance to utilize the brads in my stash (I ran out of buttons). Please check out the other fabulous designers on the team. Enjoy!
Recipe: A2
Paper: DCWV, Stampin' Up
Cartridge: Cindy Loo (Shunk cut at 2 1/4"; frame cut at 4"), Elegant Edges (border cut at 1 1/4"; marquee (3 1/2" oblong)
Ribbon: Michaels
Twine: The Twinery
CB Folder: D'vine Swirls
Brads: KI
Buttons: Basic Grey


At Just A Scrappin' we have a fabulous challenge this week: critters, buttons and embossing! Use all three of these elements to create a card, layout or project (color choice is up to you). Add a little creativity and you are off to a great start.
I thought about the critter element and thought, "Finally, a chance to use my Cindy Loo cartridge!" Sad detail is I had purchased that particular cartridge one year ago and never made a single cut! Sad, but true. I enjoyed this challenge, as with the others, and had a chance to utilize the brads in my stash (I ran out of buttons). Please check out the other fabulous designers on the team. Enjoy!
Recipe: A2
Paper: DCWV, Stampin' Up
Cartridge: Cindy Loo (Shunk cut at 2 1/4"; frame cut at 4"), Elegant Edges (border cut at 1 1/4"; marquee (3 1/2" oblong)
Ribbon: Michaels
Twine: The Twinery
CB Folder: D'vine Swirls
Brads: KI
Buttons: Basic Grey


Good afternoon fellow crafters,
I made this little candy tin for my sweetheart for his desk. Gummi bears are his favorite! Love you, honey-bear. Enjoy!
Project: Tin
Tin: Michaels
Paper: DCWV, MME
Cartridge: Indie Art
Ribbon: Michaels
Die-cuts: MME
Stickles: Tim Holtz


I made this little candy tin for my sweetheart for his desk. Gummi bears are his favorite! Love you, honey-bear. Enjoy!
Project: Tin
Tin: Michaels
Paper: DCWV, MME
Cartridge: Indie Art
Ribbon: Michaels
Die-cuts: MME
Stickles: Tim Holtz


Subscribe to:
Posts (Atom)


Social Icons