Hello Friends,
I am back again with a quick card using the new Zebra stencil from Scrapbook.com. I will write, I use to be hesitant to use stencils. I often found them intimidating. However as I have grown as a cardmaker, I find myself drawn to the impact a simple stenciled pattern can have on my card designs.
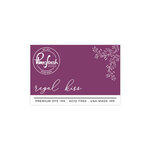
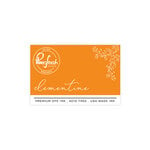
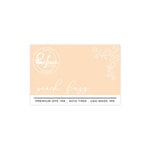
To create this card, I started by masking off a large circle to create a backdrop for my majestic tree. I inked the masked area using Taylored Expressions blending brushes with Peach Fuzz and Clementine dye inks. I then used Altenews layered stamp set, In My Thoughts, to stamp the tree layers onto Sugar Cube cardstock. Next, I covered the area and laid the zebra stencil onto the inked A2 card panel. I loved the idea of using a desert color palette to complement the zebra pattern. Starting from the bottom, I used Toffee, Spearmint, Regal Kiss, and Raspberry Sorbet dye inks to achieve the desired effect. A simple sentiment completes this card.
I hope you have a chance to use your stencils to make something beautiful. Thank you for stopping by.
Happy Crafting,
Keia
Card Supplies:
Happy Monday, crafty friends!
How was your Christmas? Did Santa leave you crafty goodies under the Christmas tree? Santa was good to me and left me a few pretties I had my eye on for a while. The best gift was hearing our youngest son say, "This is the best Christmas ever!" Wahoo! Kudos to Santa's elves.
Now that the gifts have been unwrapped and the candy canes are eaten from the tree, it's time to start working on my thank you cards. I love cardmaking. I can become lost in the process and it can easily take me two hours to complete a card. I have a few cards to make and I need to shorten my design time. So I challenged myself to make a card in 30 minutes. I was pretty close. My time was 35 minutes. I will take it!
To create this card, I started by diecutting the Frantic Stamper's Festive Poinsettia die from watercolor paper. I used Barn Door, Fired Brick, and Festive Berries distress ink to color the petals. Taylored Expressions' Mulled Wine paper was used for the poinsettia petals outline. The leaves are diecut from Cilantro cardstock using Pinkfresh Studio's Leafy Branch dies.
I diecut the center panel using Spellbinders' Hemstitch Rectangles. These dies add a beautiful dotted-edging to my project. The A2 card background was created using Taylored Expressions' Boughs and Berries background stamp inked with Mint Julep dye ink. A simple "Thank You" sentiment and gold watercolor splatters completed this card.
I think this simple, but elegant card came together quite nicely. Now that I have my first one done, I am ready to make a few more. I hope this inspires you to make a few thank you Christmas cards, too!
Happy Crafting
Supplies:
Paper: Taylored Expressions (Cilantro, Sugar Cube, Mulled Wine), Canson (watercolor paper), Stash (glitter)
Dies: Frantic Stamper (Festive Poinsettia), Pinkfresh Studio (Leafy Branch)
Inks: Distress Inks (Festive Berries, Fired Brick, Barn Door), TE (Oreo, Mint Julep)
Stamp: TE (Boughs and Berries), Picket Fence Studios (Neighborhood)
Accessories: Gansai Tambi (Starry Colors watercolor)
Hello Crafty, Friends!
One more day until Christmas. Are you ready for the big day? Are you dreaming of a crafty Christmas? I know I am! As one of my presents, I always ask my hubby for a few hours to myself to enjoy some quiet time in my studio. After the opening of presents, Zooming with parents, and spending time together, I long for a quiet moment to myself. I love stepping inside the calm, orderly room filled with all my crafty treasures and memories from years gone by. I usually bring a cup of tea and light a candle to set the mood. And for a moment, I get to be me and experience the joy of creating.
I have not always had a crafty space. As a military family, when we move, having a crafty space was not at the top of my list. However, my hubby has always made sure I had a table or corner to create in over the 15 years I have been crafting. One of the special things about my crafting journey are all the little crafty items my hubby makes or buys for me before he deploys. It this thing we do and I cherish each one.
So after umpteen years of shuffling my supplies around in plastic bags, packing boxes, Rubbermaid totes, or creating a corner in a leaky basement in base housing, I finally have my dream space. To mark the occasion, I thought I would create a pocket scrapbook page.
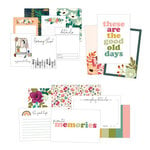
To create this layout, I used Scrapbook.com's Everyday Moments and 3x4 journaling cards. I love the happy pastel colors in this collection mixed with bold floral patterns. I adore all things crafty, so I used the I Work for Watercolors stamp and die set, from Picket Fence Studio, to create my own journaling card. I love how the inky splatters pair well with the crafty theme. The journal cards are perfect for use with my vintage 1940's typewriter. I just adhered the journaling card to a piece of 8.5x11 computer paper and typed out the story of my studio and how it came into existence.
A few bits and pieces from my other pocket scrapbooking kits help complete this page. I am so happy I took the time to journal about my studio.
Thank you for stopping by. Have a Merry Christmas and Happy New Year! And continued blessings to you and yours.
Happy Crafting,
Pocket Scrapbooking Supplies (Affiliate Links):
Hello Crafty Friends,
I hope your week is off to a great start. I had a chance to slip into my craft room this weekend to work on several design team projects. I wanted to try out various techniques I had not used in a while, which meant I needed to watch a Youtube video to remember how to do the technique. The life of a creative. Sometimes I become so comfortable with designing my cards a certain way, I forget to push myself to try new things or hone my skills. So that is exactly what I did with my alcohol inks.
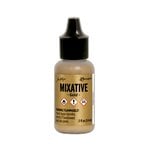
To create this card, I used Yupo paper and several alcohol inks with the gold mixative. Since the alcohol panel was colorful, I paired it with a simple flower using both shades of purple and black and white. A simple sentiment completes this card. Some key takeaways when using alcohol inks, make sure to work in a well-ventilated area. While it is possible to be somewhat intentional when playing with alcohol inks, the medium is meant to be organic in nature and free-flowing. I had to remind myself of this fact and just let go.
Thank you for stopping by. I hope you have a beautiful holiday season. Until next time.
Happy Crafting,
Keia
Card Supplies
Happy Friday Crafty Friends,
I am looking forward to a relaxing weekend with the family. This holiday season is quiet, but we are being intentional about reaching out and connecting with friends and family. I am enjoying making cards and sending happy mail. I even have had friends ask me to send cards to others to brighten their day. I can do that. Sharing handmade kindness is what we cardmakers do best. Today, I am popping in to share a card project featuring the new Cacti Stencil from Scrapbook.com. Looking forward to putting another card in the mail.
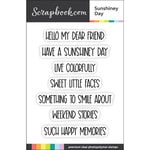
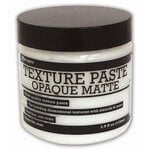
Working with stencils is a nice visual change for me. I love the ability to add texture and dimension to a project. To create this card, I started by using texture embossing paste and mixing it with Evergreen dye ink from Pinkfresh Studio. I then applied it to the front of my cardstock from the Boho collection from Scrapbook.com. Can I just write that the Boho color palette is fabulous? I am a plant mama, so I reached into my stash and pulled out the Spellbinders Build a Terrarium die set. I have had this die set in my stash for a while. I enjoyed the fact that I was able to show it a little love by doing this card project. To create the cacti in the terrarium, I first inked a piece of watercolor paper with Mint, Evergreen, and Olive dye inks. Once inked, I spritzed the inks with water to give a more textured appearance to the paper, and later using my white gel ink pen added highlights. I really like trying to stretch my products. In this case, I used a journaling card from the new My Best Life journaling card set for a background. A simple sentiment from the Sunshiney Day stamp completes this card.
I hope you have a wonderful weekend as we head into the holiday season. Blessings to all.
Happy Crafting,
Keia
Card Supplies:
Hello Crafty Friends,
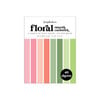
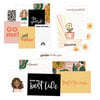
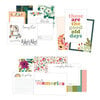
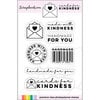
I have been enjoying a variety of series or Youtube where fellow crafters discuss what is on their desk for the week or month and how they plan to use it. I thought I would give it a go and share what is on my desk and my plans for the craft items. This month I received happy mail from Scapbook.com featuring some of their new stencils, paper pads, journaling cards, and organizational supplies.
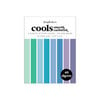
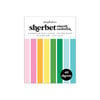
The paper pads come in a beautiful assortment that fits neatly into the missing gaps of my cardstock stash. And yes, hard to imagine, but I actually didn't have some of the colors. The paper is 80lb weight and cut to A2 size. I have an upcoming card using the Boho color pad, which features a lovely color palette.
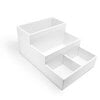
The stencils are 6x8, which makes them perfect for cardmaking, scrapbooking, and more. I tried out the Cacti stencil with colored texture paste and was pleased with the stencil design and quality. I am excited about the journaling cards and looking forward to using both as card fronts and in my pocket journaling. There are also a few organizational pieces for one's craftroom. I used mine to hold my journal cards.
Happy Crafting,
Keia
On My Desk:
Good morning, Crafty Friends!
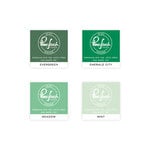
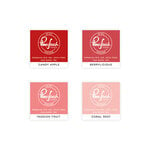
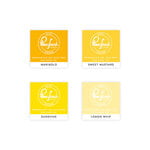
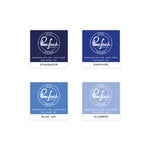
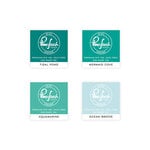
I have always been drawn to abstract art. There is something beautiful in the seemingly chaotic lines, swirls, and random patterns. However, in reality, there is control and thoughtful intentionality that is both graceful and intoxicating. Abstract backgrounds and techniques have been slowly making their way into the card and scrapbook arena, and I could not be more excited. One technique cardmakers are using is to apply ink directly to their paper using dye ink cubes. I had very few dye ink cubes in my crafty stash, so you know I had to rectify that situation. When wanting to try something new, you either go big or go home, right? So I purchased the entire 48 ink cube collection from Pinkfresh Studio. Now it's really time to play!
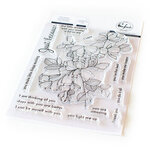
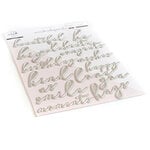
To create this card, I took a piece of SugarCube cardstock and just had fun. I used the ink cubes to directly swipe color onto the cardstock using Coral Reef, Ocean Breeze, Peach Fuzz, Sweet Mustard, and Misty Coast inks. I then stamped a bouquet from the Just Because stamp set using Stargazer ink onto the inked panel. I diecut the word "Hugs" from Pinkfresh Studio's Thin Words: Everyday Script from Cookie Monster and Oceanside cardstock. A few inky gold splatters completes this card.
Thank you for visiting. I hope you have a chance to try out this technique and make something beautiful.
Happy Crafting,
Keia
Card Supplies:




















Social Icons