Happy Tuesday My Crafty Friends!
Today, I am sharing a fun card from the new Taylored Expressions feature Release Revisted. In this post, we take a look at how to use the previous month's release products in new and exciting ways. This is a great opportunity to explore the stamp and/or die that you just had to have, but didn't get a chance to play with! Yes, that includes me.
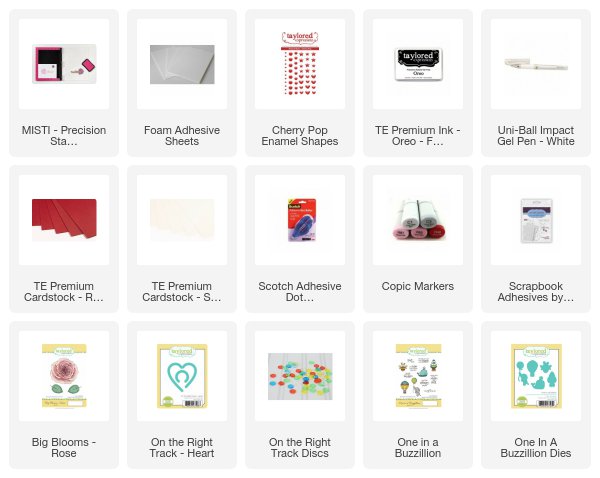
My Love Bug card pairs the Big Blooms-Rose, One in a Buzzillion and On the Right Track-Heart stamp and dies. Oh, I am in LOVE.
Do you love to color? Then this card is perfect for you! To create this card, I stamped the Big Blooms-Rose twice on Copic-friendly paper, and colored the image using Copic markers from the red and green family. Next, I stamped and colored the cute bumblebee using a combination of yellow and brown Copic markers. Before assembling my card, I stamped the sentiment 'Love Bug' with Oreo dye ink onto the top panel. To assemble the card, I die cut the heart track onto the top card panel. I then inserted the bumblebee, which is adhered to a disc using foam adhesive, so it can glide around the track. A bit of embossing powder on the edges of the foam tape will remove any tackiness and prevent sticking. Next, I aligned the two colored images, being mindful to make sure the lines were in the correct position. I removed the panel again to add foam adhesive and then taped the two images together. The entire card front was then matted onto a horizontal, top-folding A2 Red Pepper card base. An enamel heart completes the card.
Thank you for stopping by! I hope this inspires you to show a little love to the new additions in your crafty stash! For more inspiration showcasing these stamps and dies, visit the Taylored Expressions Gallery (HERE). See you next week as we kick off the February Taylored Expressions' release!
Happy Crafting,
Keia
Card Size: A2
Card Supplies:

Happy Thursday Crafty Friends,
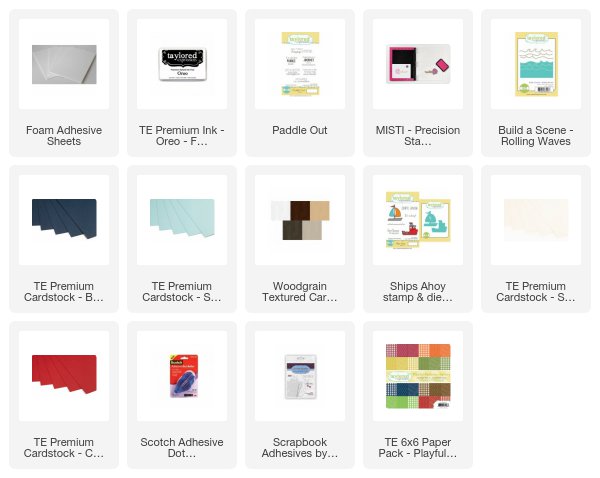
How is your week? Ready to craft this weekend? Have you checked out all the awesome goodness from Creativation 2018? After viewing the wonderful videos from the show, I am ready to create! Today's card features the Ships Ahoy (stamps/die combo) and Paddle Out stamp sets, which I enjoyed inking and stamping.
To create this card, I stamped a piece of Sugar Cube cardstock with little sailboats in a random pattern. I then stamped and die cut a sailboat four times from Sugar Cube, Cherry Pop, Woodgrain, and Playful Patterns-Savory paper, and paper-pieced the sailboat together. Next, I die cut two waves from Sprinkles cardstock using the Build a Scene-Rolling Waves die. A stamped sentiment, and red twine finish this card.
Thank you for stopping by. For more inspiration featuring these stamps and dies, visit the Taylored Expressions Gallery.
Happy Crafting,
Keia
Card Size: A2
Card Supplies:
Hello Crafty Friends,
Happy New Year! I hope your new year is going well and you are enjoying your crafty Christmas presents. I enjoyed spending some much needed downtime in my craft room organizing and loving on my new crafty gifts, too.
Each new year, brings with it an opportunity to contemplate our choices, reevaluate our priorities and set new goals. Taylored Expressions is making some new changes for the new year, too. If you did not know, Taylored Expressions is now doing their new releases on an every-other-month basis. What does this mean for you? It means the Creative Team will have new designer features to share with you, and hopefully encourage you to get into your craft rooms to create something beautiful with old favorites and new finds. For more information on what to expect, check out Taylor's video on YouTube (HERE).
Today, I am showcasing a card from our new series entitled 'Designer Choice.' I love the idea behind Designer Choice, because it allows me to go back and revisit a stamp and/or die I previously did not have an opportunity to fully explore. Seriously, even I have a TE 'new pile' stash that I am longing to create with.
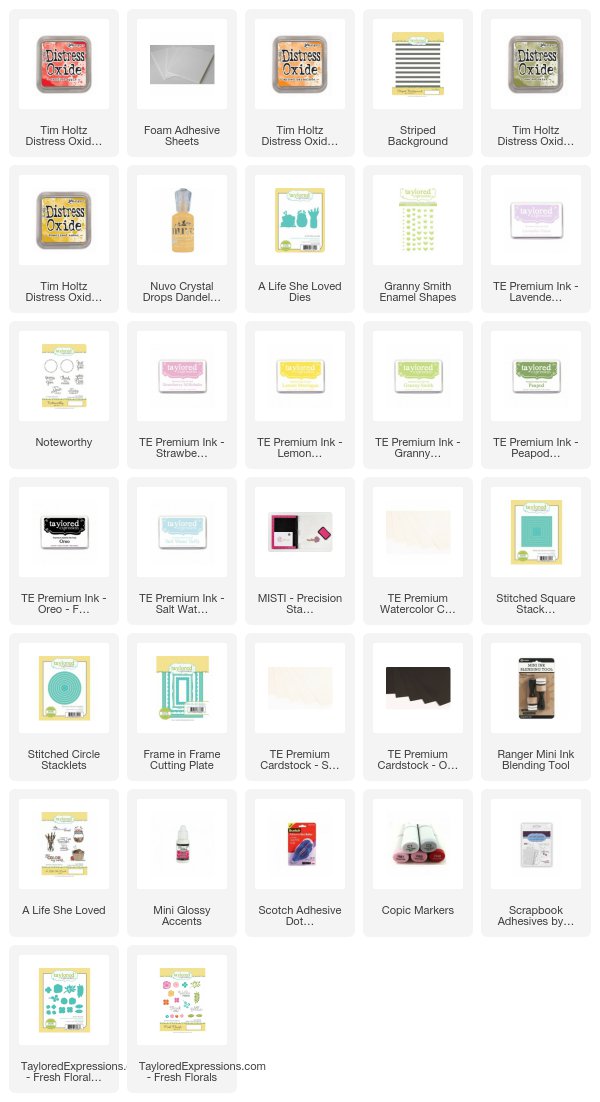
The Noteworthy stamp set might be one that is easily overlooked. The stamps work well to create quick stationery note card gift sets, but is equally functional for stand alone cards. I love the medium-sized script font and pleasant sentiments featured in this set. To create this card, I paired the sentiment with the Fresh Florals stamp and coordinating die set, along with the Striped Background stamp for an elegant Thank You card. The striped background panel was die cut using the Stitched Square Stacklets and then die cut again (Stitched Circle Stacklets) to create a focal point for the sentiment. A bouquet of fresh flowers, Baker's Twine and inky splatters complete this card.
My second card also features a sentiment from the Noteworthy stamp set. I was on a roll, why stop?
I love this sentiment, because it reminds me that each one of us is a masterpiece. This card paired the Noteworthy set with the Frame in Frame Cutting Plate and A Life She Loved stamp and coordination die set. An A2 top-folding Sugar Cube card base was inked using Salt Water Taffy dye ink and embellished with a few inky splatters. The canvas for the sentiment uses Distress Oxide inks and the watercolor smooshing technique to add a bit of whimsy. The image featuring the jar of paintbrushes was stamped onto Copic-friendly paper, colored with Copic markers, and Ranger's Glossy Accents was added to create a glass effect.
I hope you have enjoyed this trip down memory lane featuring the Noteworthy stamp set. If you own the set, dust if off and show it a little inky love. If the set is new to you, I hope I have inspired you to take a closer look at a hidden gem. You can visit the Taylored Expressions' Gallery for more inspiration using this stamp set (HERE).
Thank you for stopping by! Happy stamping, my crafty friends!
Keia
Card Sizes 4 1/2 x 4 1/2 and A2
Card Supplies:

Subscribe to:
Comments (Atom)


Social Icons