One more day until release day! I hope you have been enjoying sneak peeks from the Creative Team. There is so much craft happiness in this release and a little something for everyone on your card list. Today, I am sharing three projects: a funny baby card, handmade stationery and a card of encouragement.


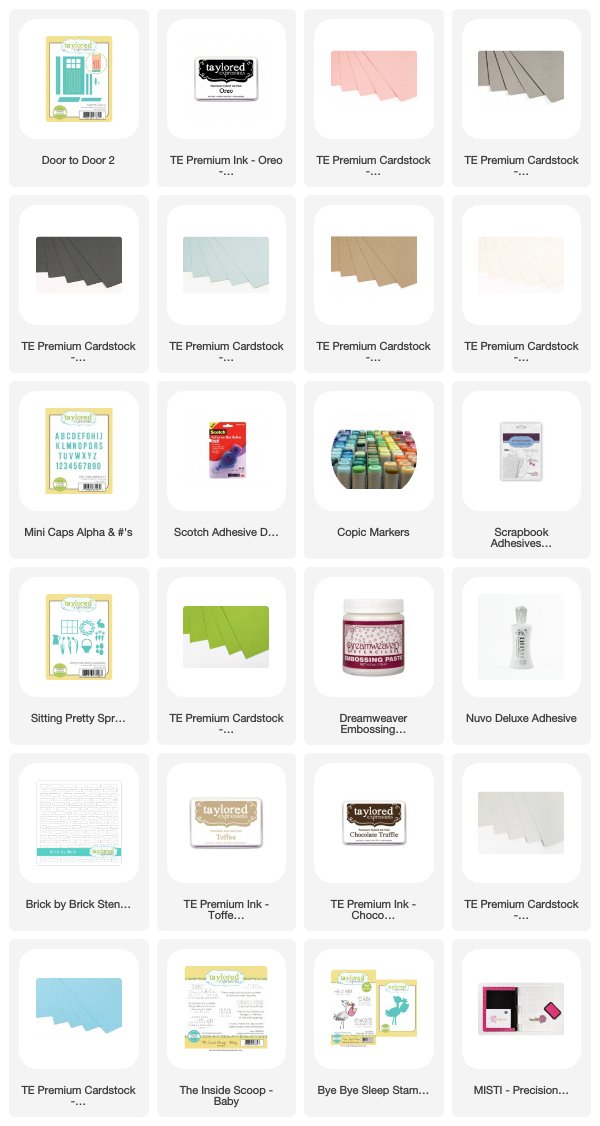
Okay, where do I start? There are so many fantastic dies and stamps to play with in this release. And if your follow me, you know that I love mixing old with the new. So good ahead and break out the Door-to-Door 2 die, because there is a surprise hidden behind door number 1. To create this card, I started by using ink dyed embossing paste (Chocolate Truffle and Toffee) to create a brick wall on a Sugar Cube card panel. TE inks are perfect for coloring paste. I used full ink pads and added color to my glass mat and then mixed in embossing paste. I then applied the paste to the TE Brick stencil and let the panel dry. Once dry, I used a finger dauber to added more color to the bricks for an aged and weathered look. Using the MISTI, I stamped and colored the image from the Bye Bye Sleep stamp and die combination. The Sitting Pretty Spring Accessories are the perfect complement to create a front porch scene. And a little sentiment behind door number 1, completes this card.

Card Supplies:
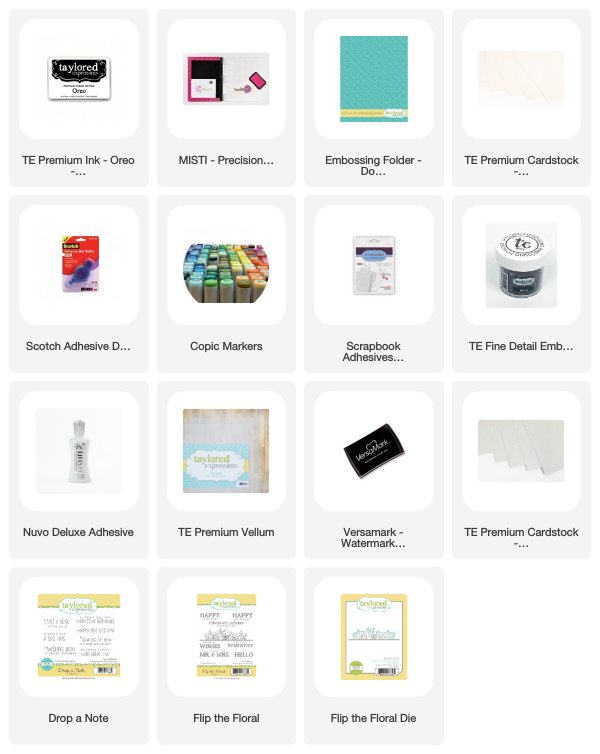
Project number two is a stationery set featuring Flip the Floral and Drop A Note.


I like the idea of creating custom stationery sets with the stamp and die sets in my collection. The Flip the Floral stamp and die is the perfect set to do this. I started by creating an A2 vertical card base from Sea Salt cardstock. I then stamped and die cut a piece of Sugar Cube cardstock (4.5 x 4.5, with score lines at .75 and 1 inch marks),to act as a flap, and attached it to card base. This will form a case for the stationery note cards. Next, stamp and die cut four A2 Sugar Cube panels. Using Copic markers and colored pencils, I quickly quickly colored the four panels and card jacket. A vellum belly band with the sentiment "Just A Note To Say Hello" completes the set and keeps the cards together. I used clear velcro circles from Joann's Fabrics to act as a closure for the set.

Card Supplies:
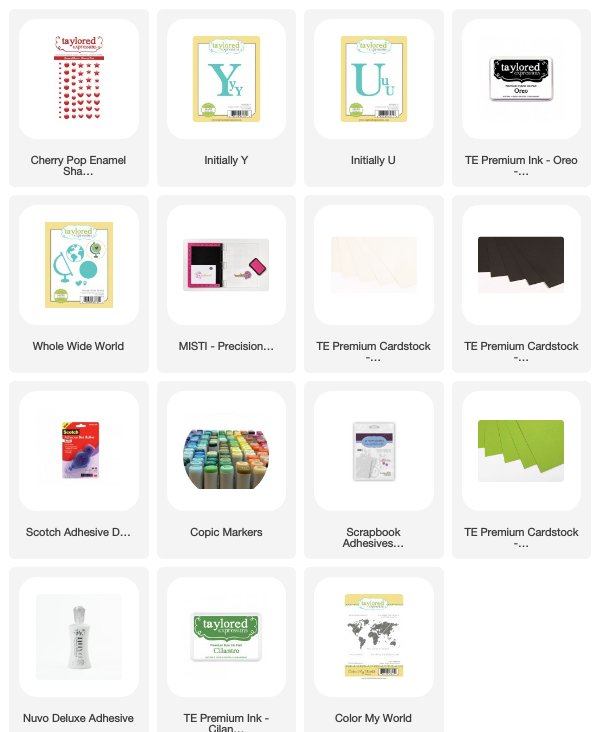
Project number three features the Color My World stamp set.

To create this card, I stamped the world image onto Sugar Cube cardstock using Cilantro ink. I used a B00 and B000 Copic markers to outline the continents. The initially Y and U dies paired with the Whole Wide World die set forms the YOU and complements the simple sentiment "Makes The World A Better Place." A Cherry Pop heart enamel shape completes this encouraging card.
Whew, you made it! I know it was a long post, and I thank you for stopping by. For more inspiration and information regarding the products used, visit the Taylored Expressions Blog (HERE). And as with each release, answer Taylor's Question of the Day for a chance to win craft goodies from the April release.

Happy Crafting,
Keia
Card Size: 4.25 x 6.25
Card Supplies


Each is so fun and creative. LOVE the stationary set. And that background with the globe is a fabulous look.
ReplyDeleteThank you, Kim!
ReplyDelete