Happy Tuesday, Crafty Friends!
Today, I am sharing a card featuring Scrapbook.com's exclusive reinkers Metallic Rose, Metallic Gold and Metallic Frost.
Reinkers are a wonderful addition to one's crafty toolbox. Reinkers can be used like watercolors, for organic coloring, adding color to mixed media pastes, and much more. I admire mixed media, but I lack the ability to let go and see where the medium takes me. This card was a labor of love as I played with the reinkers while creating organic shapes with flat paint brushes and spatula tools. I also learned how to appropriately layer each medium so that they work together and not against one another. In the end, I was happy to have a chance to learn, utilize the various tools in my creative space and just have the time to create and explore.
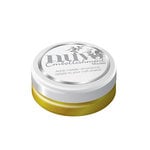
To create this card, I used Strathmore Mixed Media paper as the base and cut it down to an A2 size panel. I then used a medium-sized flat brush to create brushstrokes with the Metallic Rose Reinker. I enjoy seeing the stroke marks on the textured side of the paper. Once dry, I layered the Gold Metallic Reinker on top. After the gold ink dried, I used the Nuvo Embellishment Mousse, in Indian Gold, to add texture.
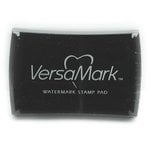
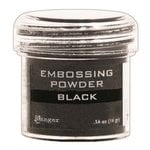
The lovely leaf image is Altenew's Tall Foliage stamped in black ink. I wanted a scripty sentiment that would complement the organic feel of the background, and Scrapbook.com's Thankful and Grateful Slimline stamp set is perfect. At first, I tried to heat emboss the sentiment. However, even with using the antistatic powder, the embossing powder clung to the reinker background. For my second try, I used black Versafine ink to achieve a solid impression. A heat embossed sentiment using gold embossing powder and various matte gold pearls completes this card.
Thank you for spending time with me. I hope this card encourages you to step into your creative space and make something beautiful while enjoying the process of learning to use your supplies and tools in new ways.
Happy Creating...
Keia
Supplies:
Happy Valentine's Day, Crafty Friends!
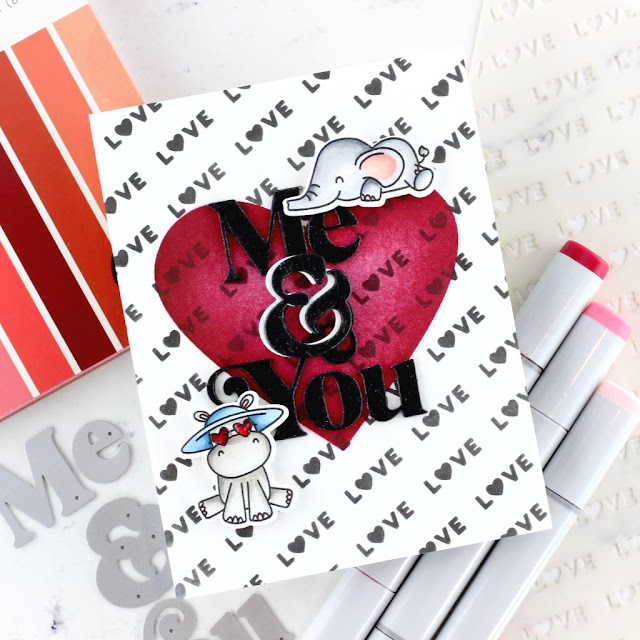
The "day of love" snuck up on me with a quickness! Good thing I have been turning out a few love notes here and there. Last week, I received a few goodies from Scrapbook.com and it was filled with the cutest love-themed stamps and stencils. I made time to play with the new Love stencil and the cute critters from Avery Elle's Island Time. I feel like I should take a triumphant heart-shaped lap for being on time with a card...hold my supplies for me.
I love when a crafting session pushes me to pair items in unexpected ways. I purchased the Island Time stamp and die set last summer and never had a chance to use it. I hope you understand that purchasing craft supplies is its own hobby, right? At least that is what I tell myself. The critters are so adorable, and I imagined the set can be used for other occasions outside of a sunny, island scene.
With supplies in hand, it was time to start creating my card. Using a white, A2 panel I inked the stencil using black ink. I then used a masking stencil to add the heart using varying shades of red. The Festive Alpha die set is perfect for creating my own sentiments. I diecut the letters three times each using black cardstock, and for the final layer added black glitter cardstock for a little sparkle. The ampersand has an additional white shadow layer for a little pop. The Copic-colored critters complete this cute card. I consider this a wrap.
Thank you for spending a portion of your day with me. I hope you have a wonderful day doing what brings joy to your heart. Sending Hugs...
Remember to create...
Keia
Card Supplies:
Hello, sweet friends!
I hope your week is off to a great start. This week is a busy one for me, but I am hoping to have a day date with my husband this week. Fingers crossed. I had a chance to step into my craft room over the weekend, and I really enjoyed playing with a few paints/reinkers and other crafty goodies.
Today's card features Scrapbook.com's new Festive Alpha die set and the Be Creative set by Colorada Company.
To create this card, I started by using the Inspire die to create a tone-on-tone background. I love the way the stacked dies add visual interest to what would have been a plain card front otherwise. I used various Scrapbook.com smooth cardstock pads Warms, Roses, Florals, and my favorite...Boho, to diecut the word "Create." The cute little mouse was stamped onto Copic-friendly paper and colored with Copic markers and colored pencils. A simple sentiment from the stamp set is heat embossed onto black cardstock with white embossing powder.
Thank you for spending a bit of time with me this morning. I hope you have a wonderful week and a chance to create something beautiful.
Create Everyday,
Keia
Card Supplies:
Happy Thursday, Craft Friends!
A new year provides a chance to reevaluate my creative space. I have a small space, so I like to make sure my craft room is well organized and functional. Scrapbook.com designed several organizational pieces called Craft Room Basics to help organize our creative spaces without taking a huge bite out of one's budget.
For me, it is the smaller items like A2 paper pads, ephemera, pocket/journaling cards, and washi tape that end up without a home and moving from one place to another in my craft room. However, I have used and modified the Craft Room basics to fit my crafting needs and corral these wandering items.
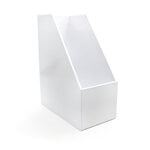
I love keeping inspiration close at hand and the 12 x12 Paper Holder is perfect for this. The In Her Studio magazine is one of my favorite magazines for creative inspiration from designers around the world. And the 12 x 12 storage keeps my magazines organized and in pristine condition.
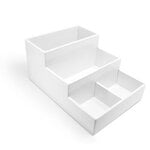
I have had the Tonic Studio Tidy Caddy for years. I love being able to keep all of my favorite tools handy, but now it is even better. The Pocker Card Organizer fits into the large compartment perfectly and helps me to keep my liquid glue, Pops of Color, paper pads, and other tools handy. I REALLY love how every item has a space.
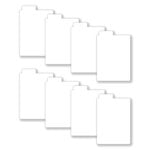
In addition to cardmaking, I love to dabble in scrapbook and pocket memory keeping. I use the Stadium Organizer with coordinating Tabbed Dividers to hold my pocket and journaling cards.
The Tall Sticker Organizer is wonderful for housing Thickers. However, I do not use Thickers in my crafting. Instead, I modified the organizer by creating risers out of styrofoam. I use this organizer to group together with my 6x6 paper pad collection with its coordinating ephemera and enamel dots.
And just in case you didn't know, the Craft Room Basics fit nicely into those colorful craft carts. This cart holds two (2) Large Stadiums, a 6 x 8 Paper Pad, and a Tall Skinny Stadium with room to spare.
Lastly, I love using the Medium Envelope Storage Pockets to hold the elements for my pocket pages. As I print my pictures, I place them in an envelope along with coordinating papers, ephemera, and other bits.
Thank you for spending time with me today. I hope this peep into my creative space provides you with ideas for how you can store items in your own space.
Create Everyday...
Keia
Craft Room Supplies:


















Social Icons